
Beauty that feels like care
A private, personalized space to explore makeup, skincare, and everyday rituals that help you feel confident, cared for, and beautifully yourself.
Thoughtfully curated • Private by design • Guidance for every stage of life
Before & After Gallery
Drag the slider to see the difference our personalized makeup techniques can make
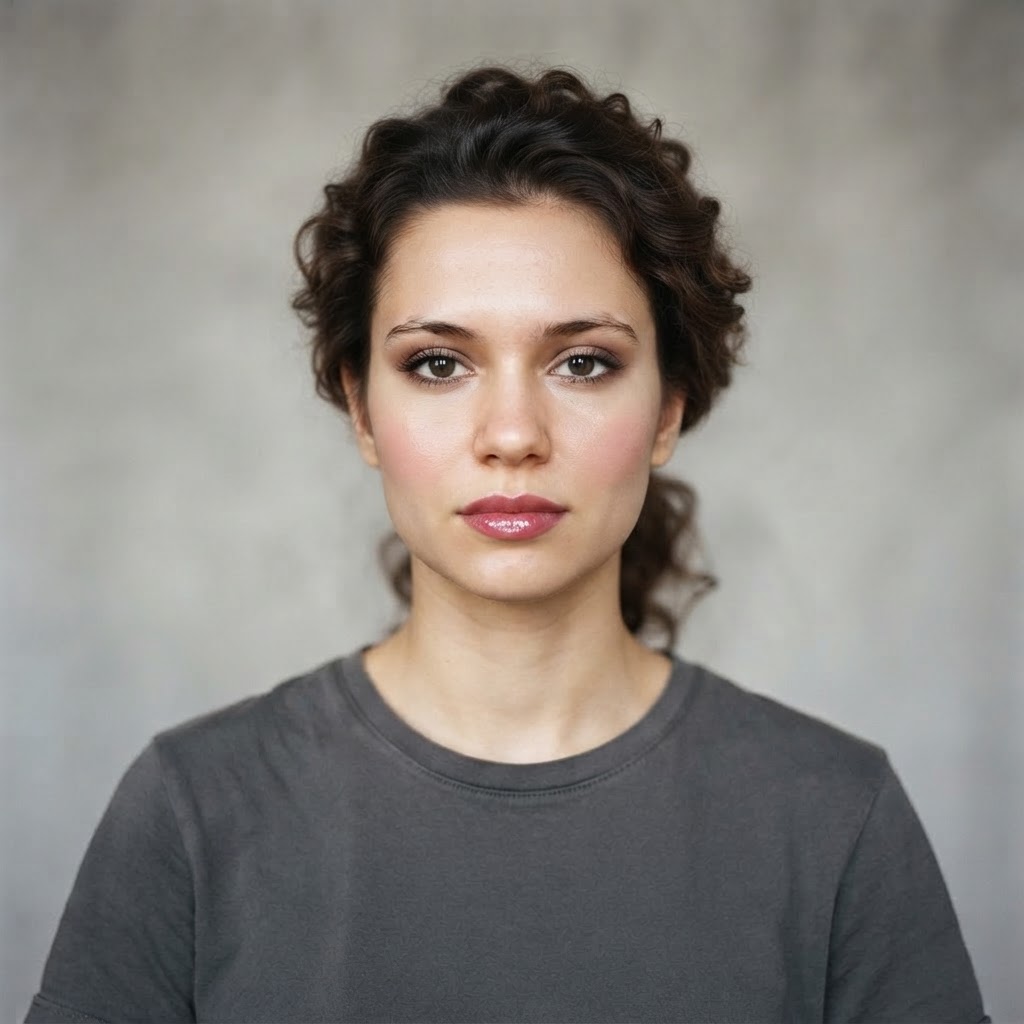 After
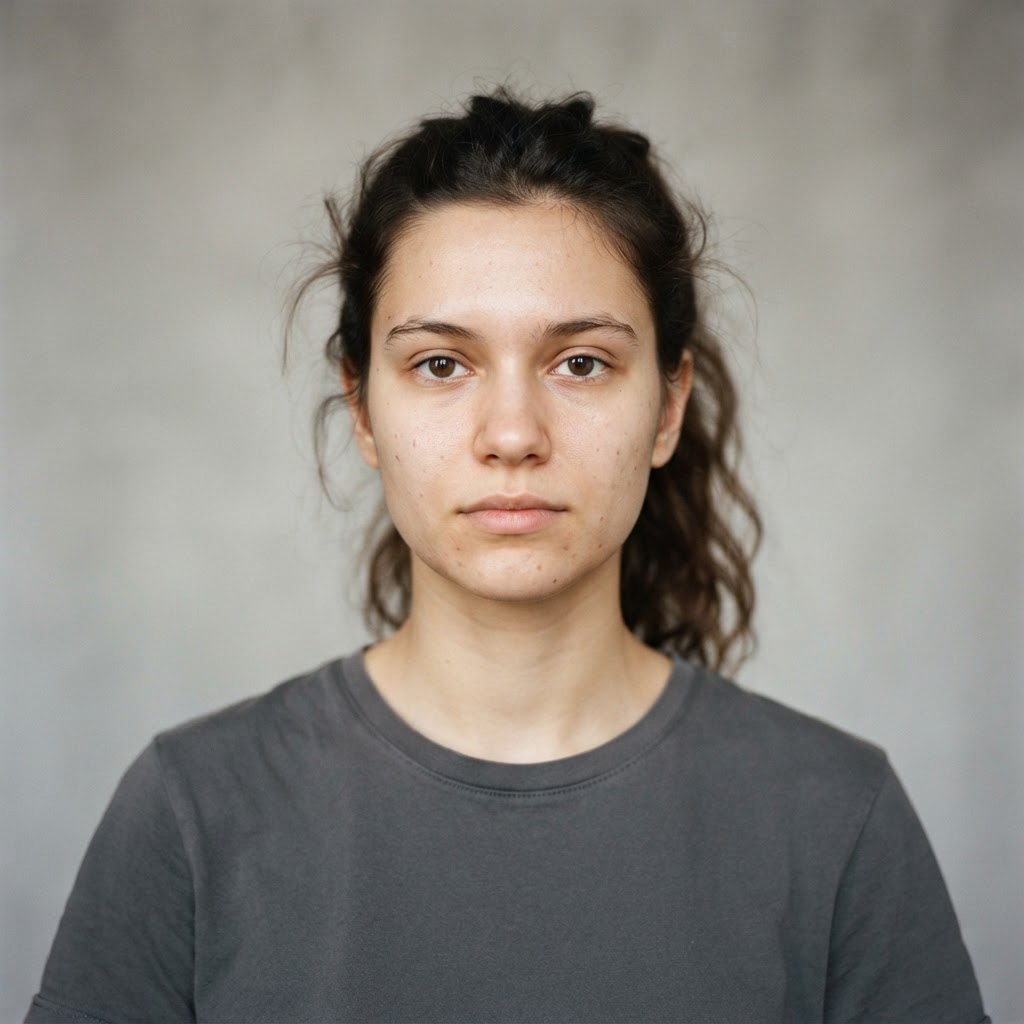 Before
Natural Daytime Glow
Soft, radiant skin with a fresh-faced finish
 After
 Before
Evening Smokey Eye
Dramatic, glamorous evening transformation
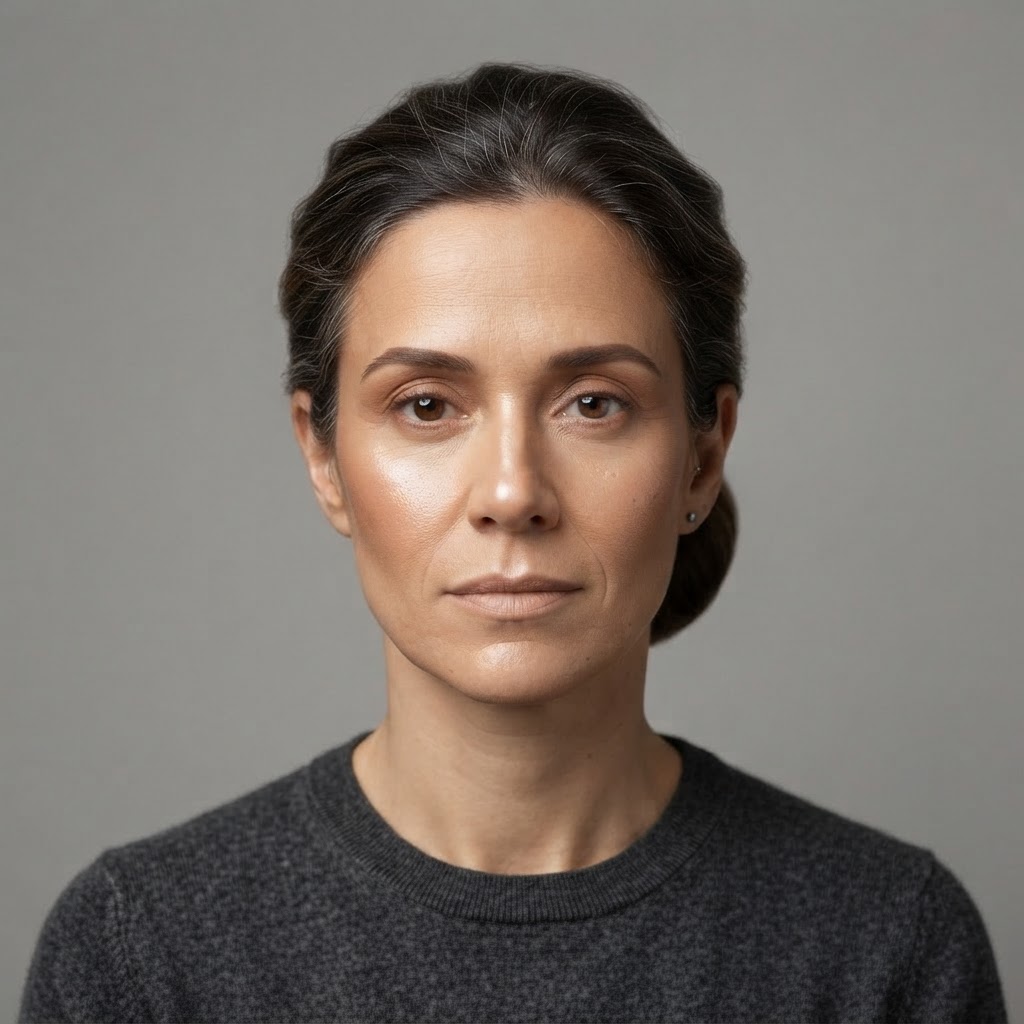 After
 Before
Soft Contour & Highlight
Sculpted definition with luminous highlights
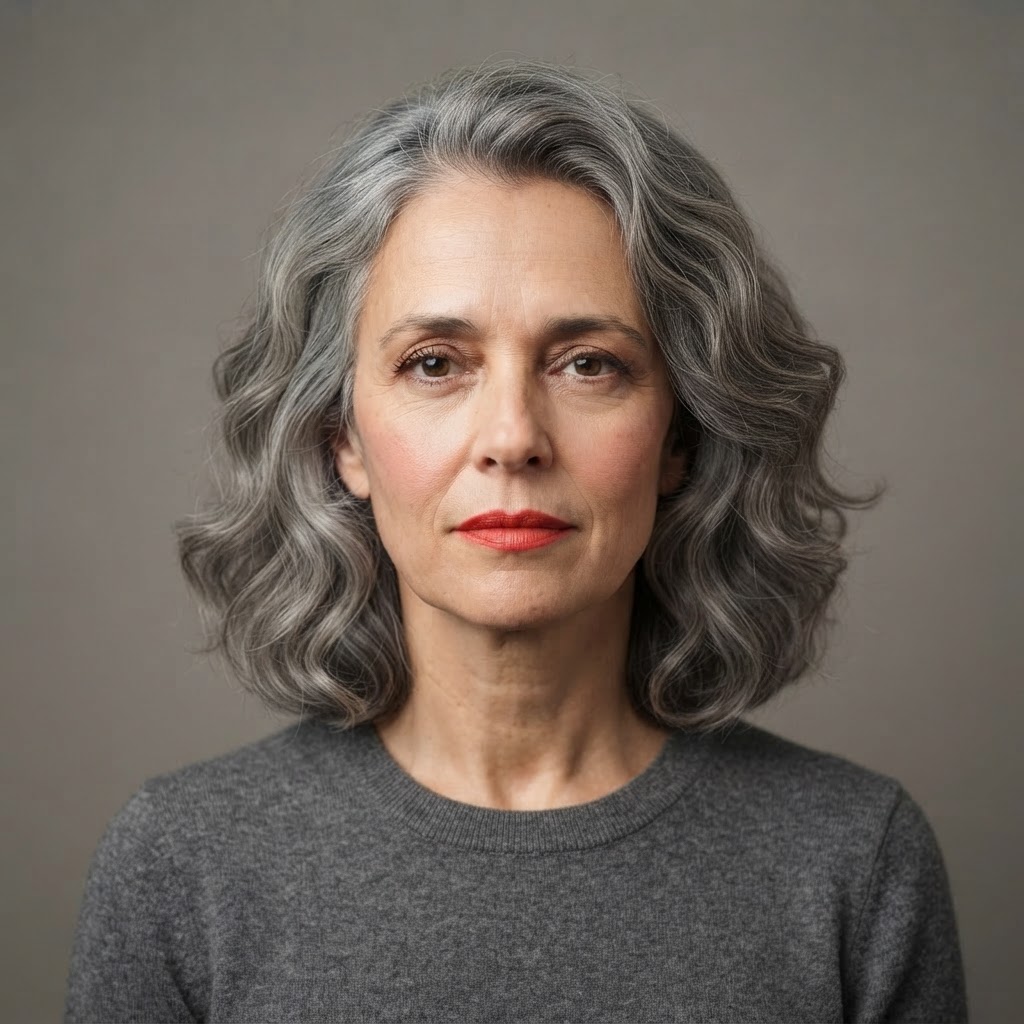 After
 Before
Bold Lip Statement
Classic red lip with flawless base
Products in Action
Watch real technique up close — applying our favorite K-beauty, J-beauty, and American products
Cleansing Ritual
Moisturizing
Eye & Brow Makeup
Bronzer & Blush
Lipstick Selection
Different Approaches to the Eye
Four techniques, each broken into clear steps — pick the one that fits your mood and skill level.

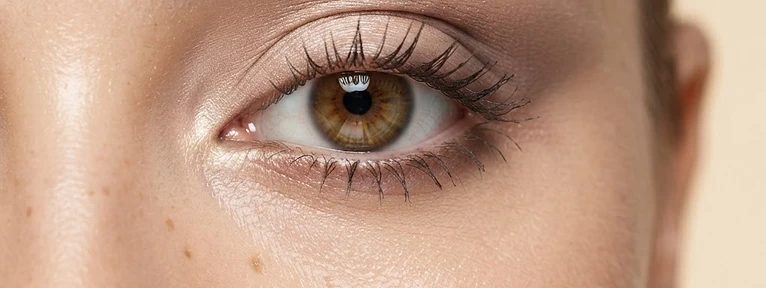
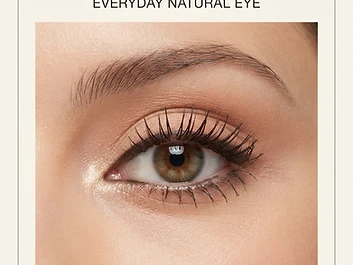
Everyday Natural
A soft, awake look that suits every eye shape and works under any lighting.
- 1
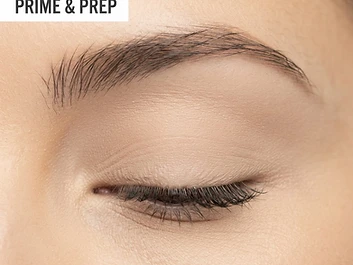
Prime the lid
Sweep a thin layer of eye primer or concealer over the lid and blend to the brow bone. This cancels discoloration so shadow reads true.
- 2
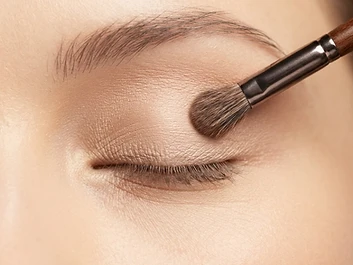
Wash of neutral
With a fluffy brush, pat a soft beige or champagne shade across the entire lid, stopping just below the crease.
- 3
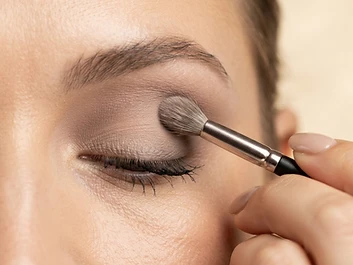
Soft depth in the crease
Using a light taupe, make small windshield-wiper motions in the crease. Build slowly — two thin layers beat one heavy one.
- 4
Tightline the lashes
Press a brown pencil into the upper lash roots in short dashes, then smudge with a tiny brush so there is no hard line.
- 5
Lift and open
Dab a touch of shimmer on the inner corner and center of the lid, then curl lashes and apply one coat of brown-black mascara.
Watch the technique in action
How it's built — visual sequence

 1

 2

 3

 4
Makeup you'll need
Brushes & tools
Ready to recreate it? Shop the makeup and the brushes and tools that go with it.
Your Application Map
Placement guides shown on a reference face — upload your photo below to see them mapped onto you.
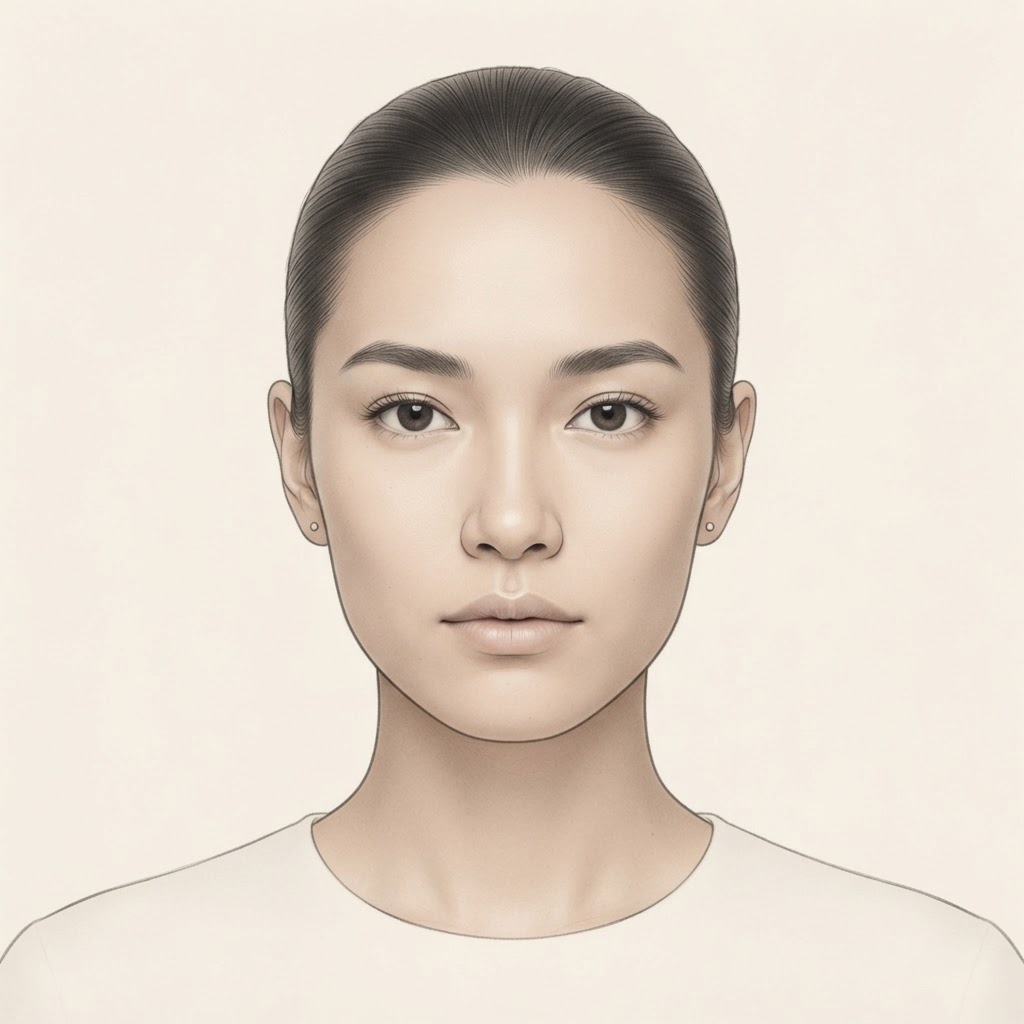
Bronzer
Temples, under the cheekbone hollow, and along the jaw — the soft "3" shape. Blend upward and back.
Rouge / Blush
The apples of the cheeks, angled slightly up toward the temple — always above the bronzer line.
Lipstick
Line on your natural border, then fill from the centre outward so colour is strongest where lips are fullest.
Guide size
Vertical position
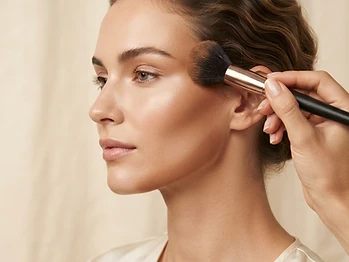
Contouring with Bronzer
A soft, sun-warmed sculpt — the modern way to define cheekbones, temples and jawline without a hard line in sight.
Watch the technique in action
Find your placement
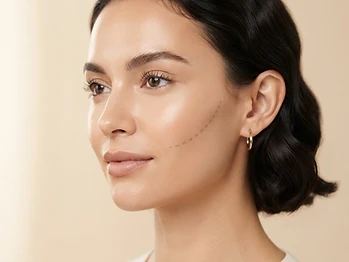
Suck in your cheeks lightly or tilt your chin down — the natural shadow under the cheekbone is your line. Start it level with the top of your ear and stop before it reaches the outer corner of your eye. Never bring bronzer past the middle of your cheek or it drags the face down.
Pick up less than you think
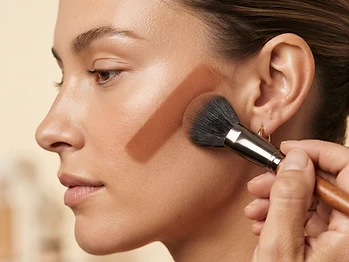
Tap an angled or small fluffy brush into a matte bronzer one to two shades deeper than your skin, then tap the excess off on the back of your hand. Warm-toned bronzer for warm undertones, a cooler taupe-brown for cool undertones — a too-orange shade reads as a stripe.
Sweep the soft "3"
Draw an imaginary 3 down the side of your face: across the top of the forehead at the temple, in along the cheek hollow, then back out and along the jawline. Use light, feathery strokes and build in two thin layers rather than one heavy pass.
Blend upward and back
With a clean fluffy brush, buff in small circles moving up toward the temple and back toward the hairline. Blend the jawline edge down onto the neck so nothing stops abruptly. If you see a hard line anywhere, keep buffing — never add more product to fix it.
Balance with warmth and light
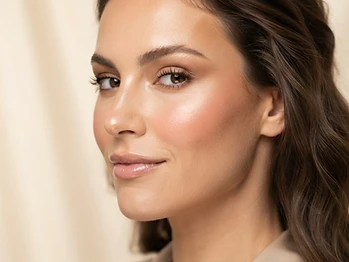
Add blush to the apples of the cheeks just above the bronzer, then a touch of highlighter on the highest point of the cheekbone. The contrast of shadow, colour and light is what makes the sculpt look like bone structure instead of makeup.
How it's built — visual sequence

 1

 2

 3

 4
What you'll need
Ready to recreate it? Shop the makeup and the brushes and tools that go with it.
The Perfect Lip
Fuller, smoother, longer-wearing colour — built with liner and layering rather than more product.
Watch the technique in action
Prep and smooth
Gently buff lips with a damp cloth or a soft sugar scrub, then press in a thin layer of balm and let it sink in for a minute before blotting the excess. Colour clings to dry patches, so this single step does more for the finish than any product that follows.
Draw the shape, not the whole lip
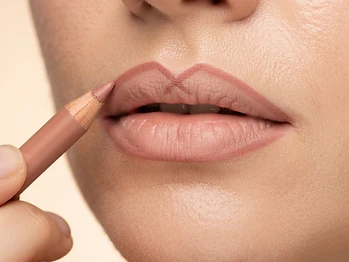
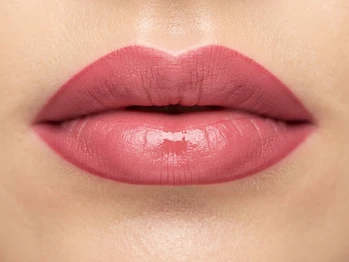
With a liner close to your natural lip colour, mark a small X at the cupid's bow and a dot at the centre of the lower lip, then connect the corners in short feathery strokes. Stay on your natural line, or a hair outside it — overlining more than that reads as a drawn-on lip.
Fill in for staying power
Lightly shade the whole lip with the same liner. This gives the lipstick something to grip, so when the colour eventually wears down through the day you are left with a soft even stain instead of a harsh outline ring.
Apply colour from the centre out
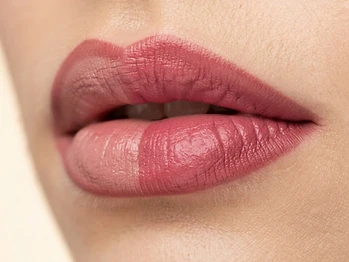
Press lipstick onto the centre of both lips first and blend outward toward the corners with a brush or your fingertip. This keeps the pigment strongest where the lip is fullest and avoids product pooling in the corners where it bleeds.
Blot, layer, and clean the edge
Press a tissue between your lips, then apply a second thin layer — two blotted layers last far longer than one thick one. Run a concealer brush around the outside to sharpen the border, and dab a touch of gloss on the centre of the lower lip for fullness.
How it's built — visual sequence

 1

 2

 3

 4
What you'll need
Ready to recreate it? Shop the makeup and the brushes and tools that go with it.
Choose Your Age Group
Your coach tailors everything to your stage of life.
25 – 35
Radiance & Prevention
Early anti-aging, glow, and trend-forward looks.
35 – 45
Hydration & Renewal
Fine lines, skin barrier, and sophisticated finishes.
45 – 55
Firmness & Elegance
Plumping, smoothness, and refined elegance.
55 – 65
Strength & Grace
Mature skin care, age spots, and timeless beauty.
65 – 75
Nourish & Glow
Deep nourishment, resilience, and graceful radiance.